Printing your photos, framing them and hanging them on the wall is something that we think every photographer should experience. There is just something incredibly satisfying about looking at a nice large print in a clean frame. But a framed photo print also makes a great gift for a loved one and Saal Digital makes the process of getting your images framed up and ready to hang on the wall extremely simple.
Ordering
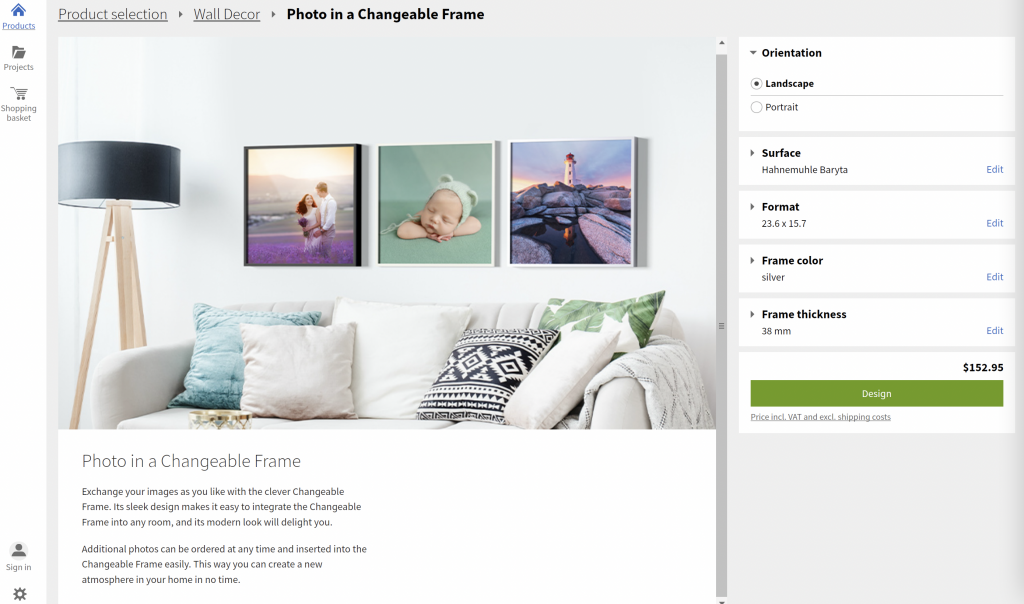
I used the Saal Design Software to create my framed print so I could save projects and have a full range of editing options at my fingertips.
Inside the Saal software I was able to select the orientation of my print, the size of the print, the paper that it would be printed on, the frame color and the thickness of the frame. The most complicated part of the process was selecting what image I wanted to have framed. Images can be printed in either a square or rectangular format with dimensions of 7.9 x 7.9 or 11.8 x 7.9 up to 23.6 x 23.6 or 23.6 x 15.7. I decided to go with a mid sized framed print of 17.7 x 11.8, in a black frame that was 38mm thick. One of the most appealing aspects of this product is the ability to swap out images, so I knew I preferred to get one in a mid-sized rectangular shape rather than opting for a square frame.
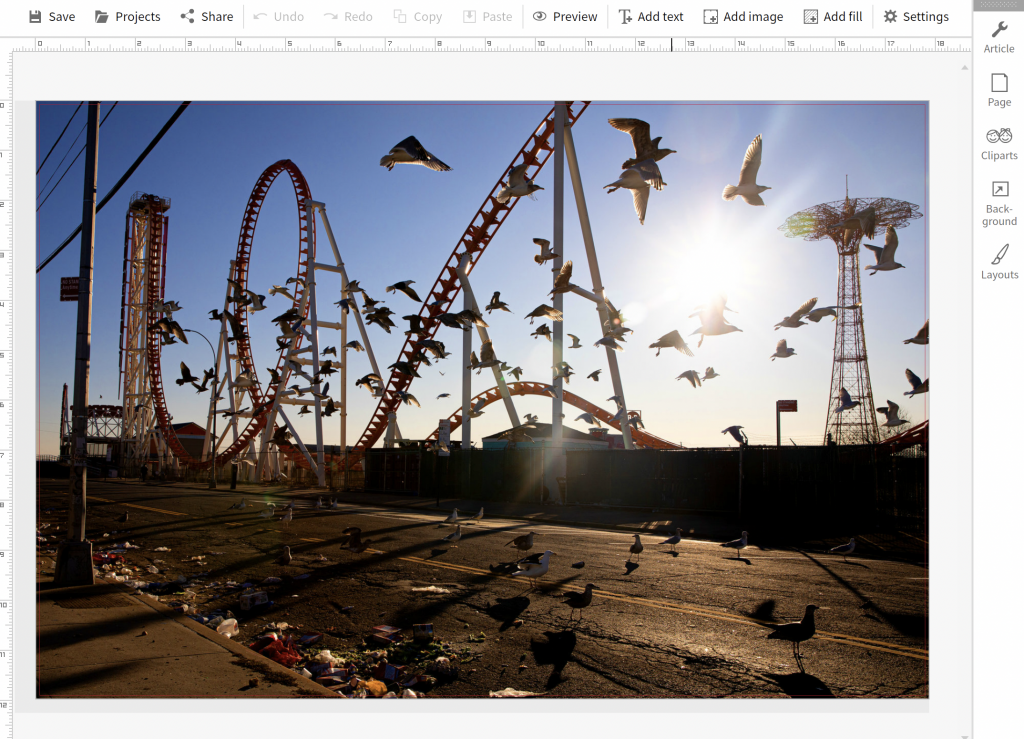
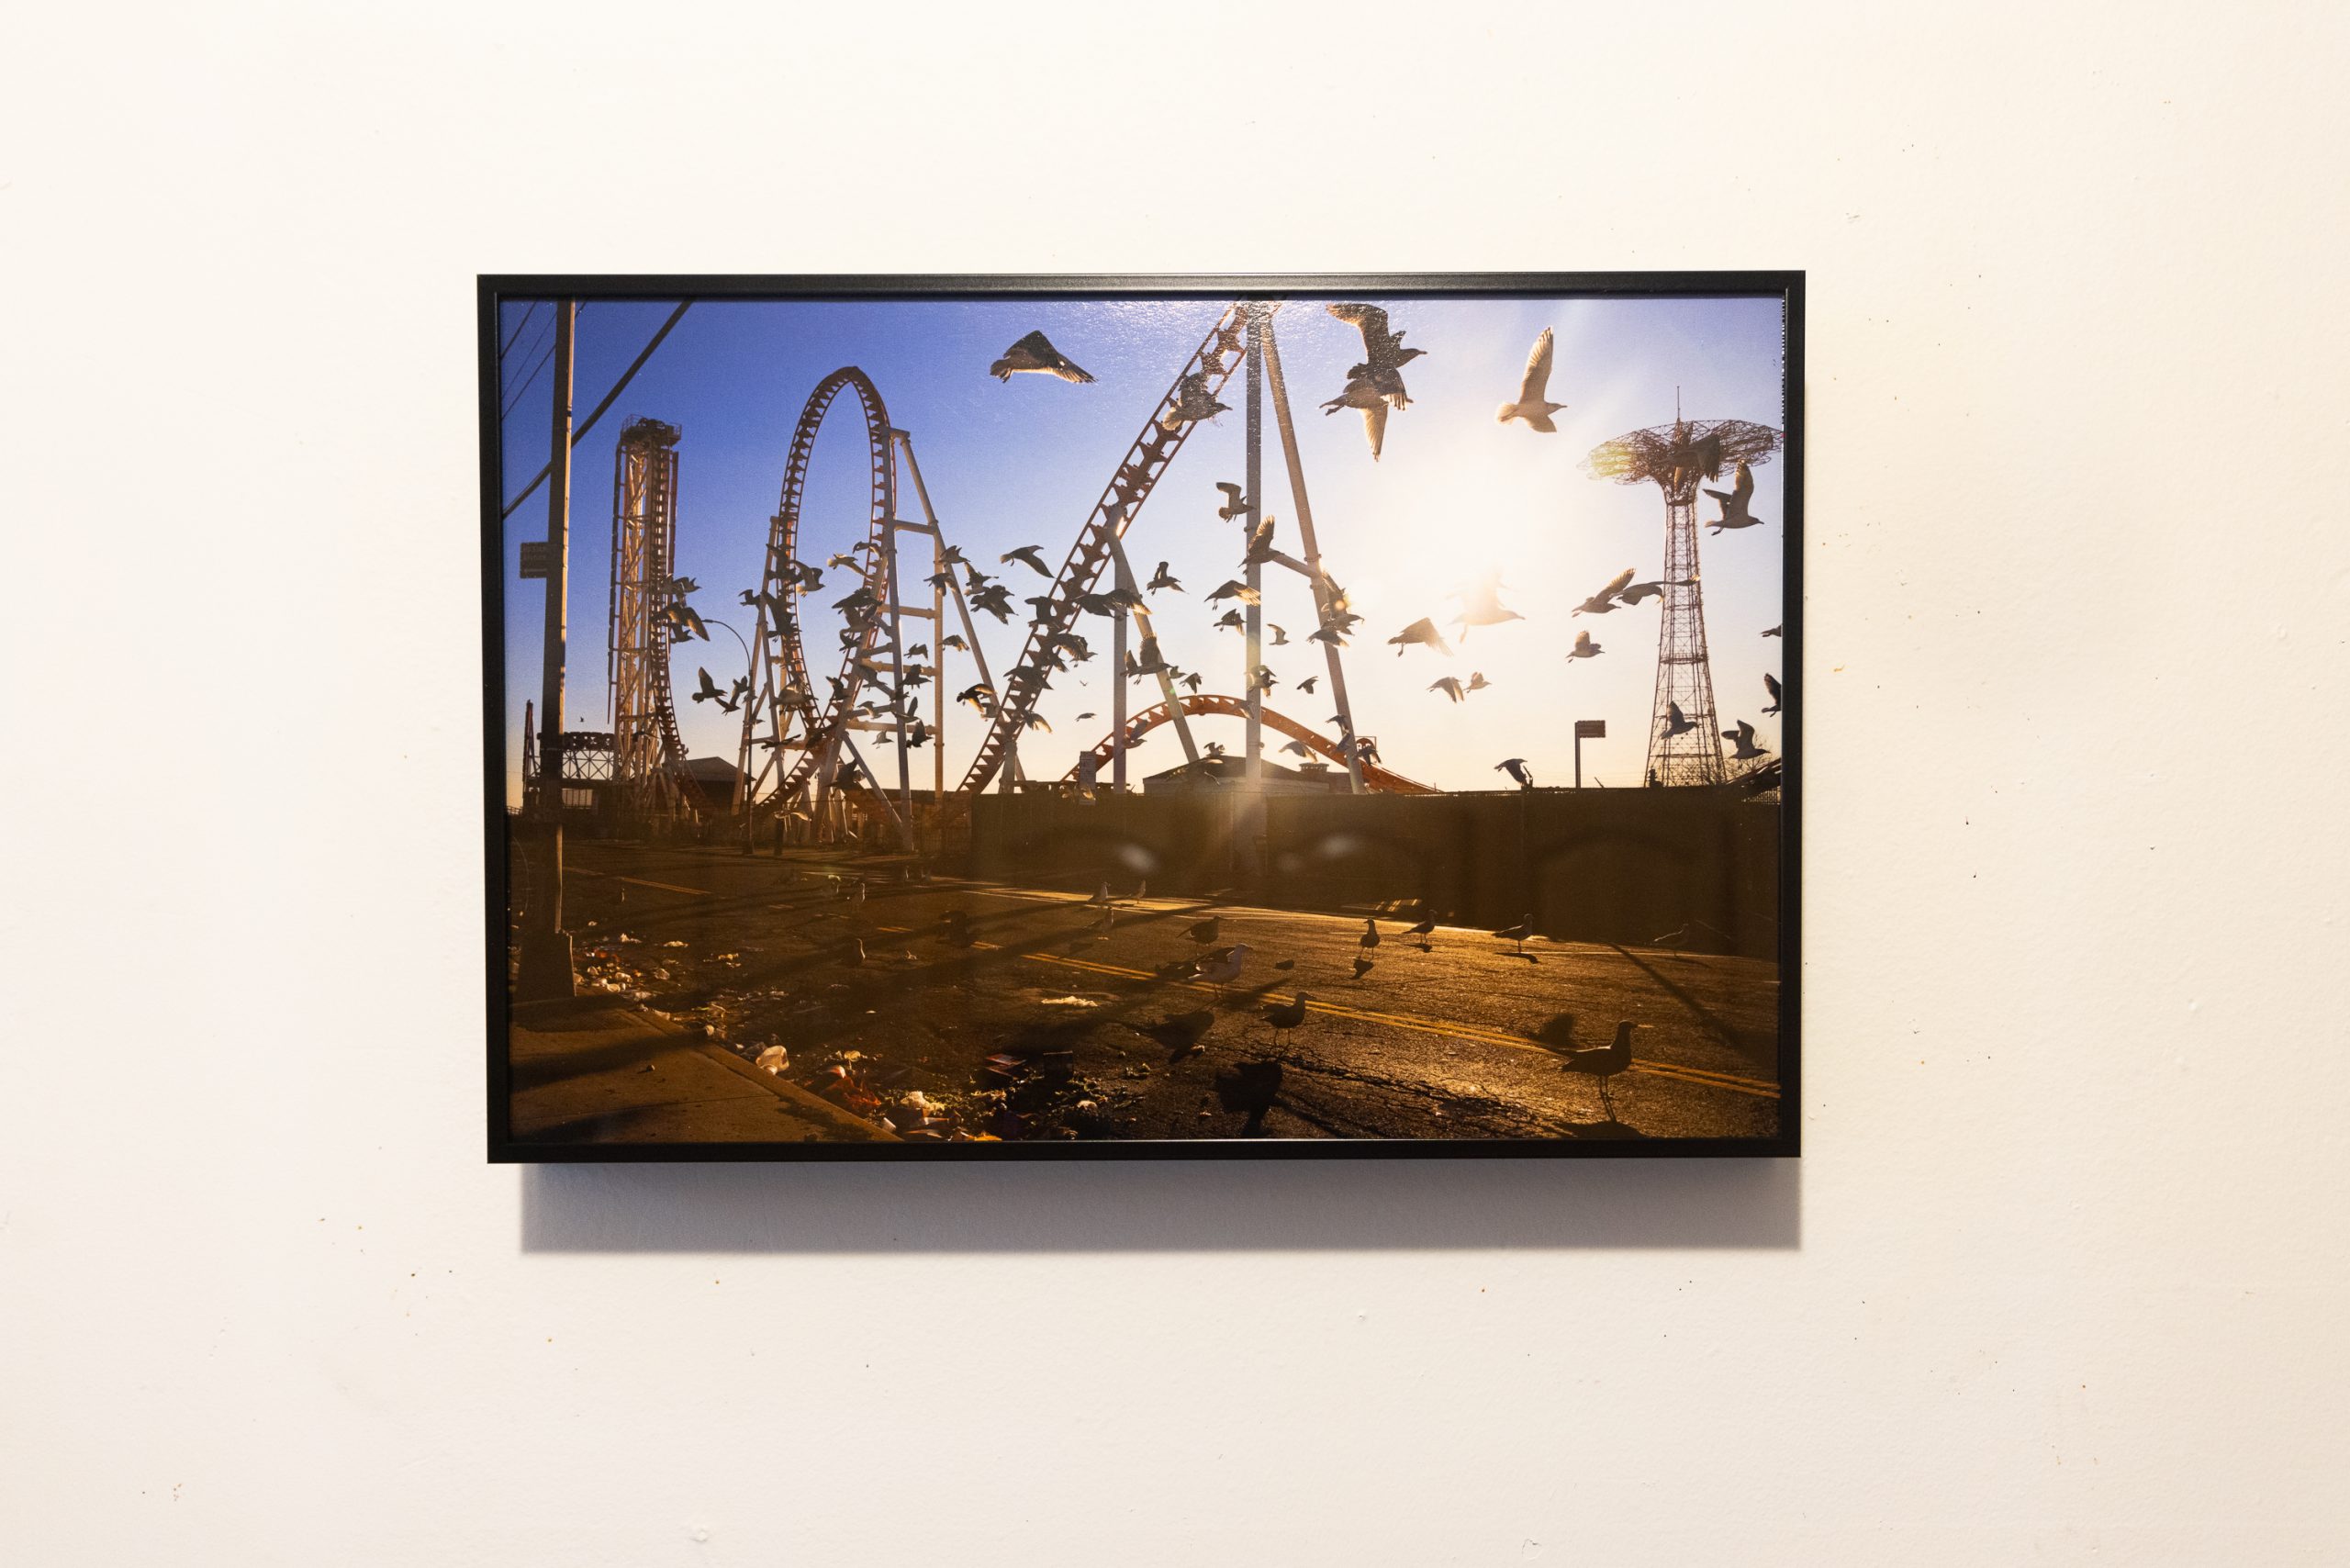
I decided to make a print of a picture that I captured on a cold day at Coney Island a few years back that features a bunch of seagulls in the foreground and the historic Parachute Drop and Thunderbolt roller coaster in the background. To prep the print first I downloaded and installed the Saal ICC print profiles into Photoshop to get an idea of how the image would look when it arrived. Next I uploaded it into the Saal Design program and positioned it so that it fell within the bleed line guidelines. When I imported my image the program alerted me that my image quality was very good and as I moved it into place I was given warnings about when certain areas were falling outside of the bleed. A preview button allows you to see the image without the bleed lines and determine if you are happy with the final result.
I choose to print my image on Hahnemuhle Baryta paper, a bright white cellulose-based FineArt inkjet paper that’s tailored for fine art use. Once I’d selected the image that I wanted to get printed the process of ordering was extremely smooth.
Delivery + Installation
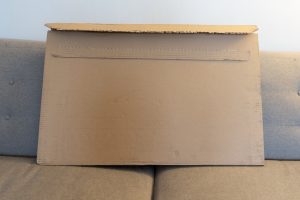
My framed print arrived about a week after I ordered in a large flat cardboard box. Unboxing was a breeze and my framed print was shrink wrapped in plastic and securely wedged between two large pieces of cardboard. The product arrived in good shape although one of the screws that holds the frame together was a bit loose—probably something that got knocked loose during transit—but it was easy to quickly tighten the screw in and secure the print within.
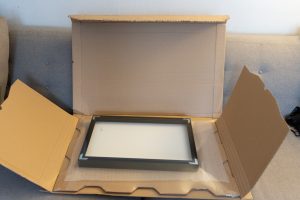
The frame has a transparent acrylic sheet on the front rather than glass, which makes it super lightweight. The frame also features built in hanging brackets on the back, so getting it up on the wall was a breeze.
Print Quality
Overall I can say that I’m extremely pleased with the quality of the print. The texture of the FineArt paper that I choose looks quite nice underneath the transparent acrylic sheet, and the print’s colors were true to what I had uploaded using the ICC profiles and thee Saal Design Software.
Frame Quality
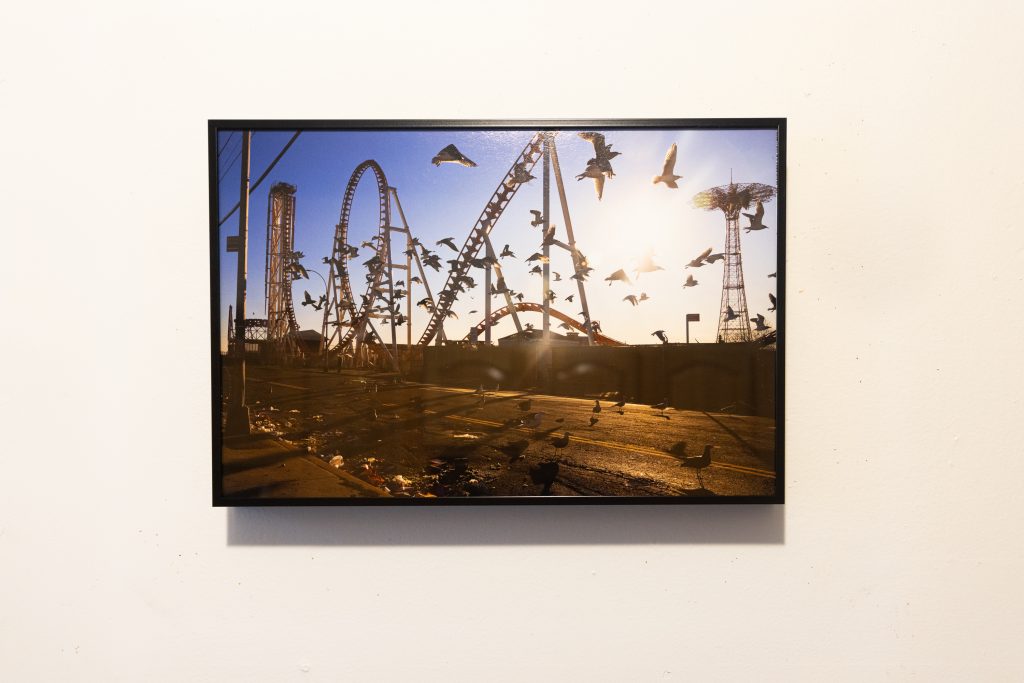
The Saal frame is made out of aluminum and uses an acrylic sheet rather than glass, which makes the whole thing extremely lightweight. On the back of the frame you will find built in hanging brackets which make it easy to get your framed piece of artwork on the wall. The frame is held together by eight metal screws—a pair on each corner—and to swap out the image you will need to remove at least two of them.
The frame itself feels extremely well-designed, but the process of removing images and replacing them with new ones can be a little tedious. The frame features an aluminum composite plate on the back of the image to help keep the picture in place. The image is sandwiched between this and the transparent acrylic sheet. These three pieces slide into four grooves in the sides of the frame. If your image was printed on heavyweight paper like mine was, sliding the three elements into the grooves is a bit of a tight fit and will require some maneuvering. The transparent acrylic front also produces a lot of static, so when you are removing prints be careful to avoid trapping dust underneath it.
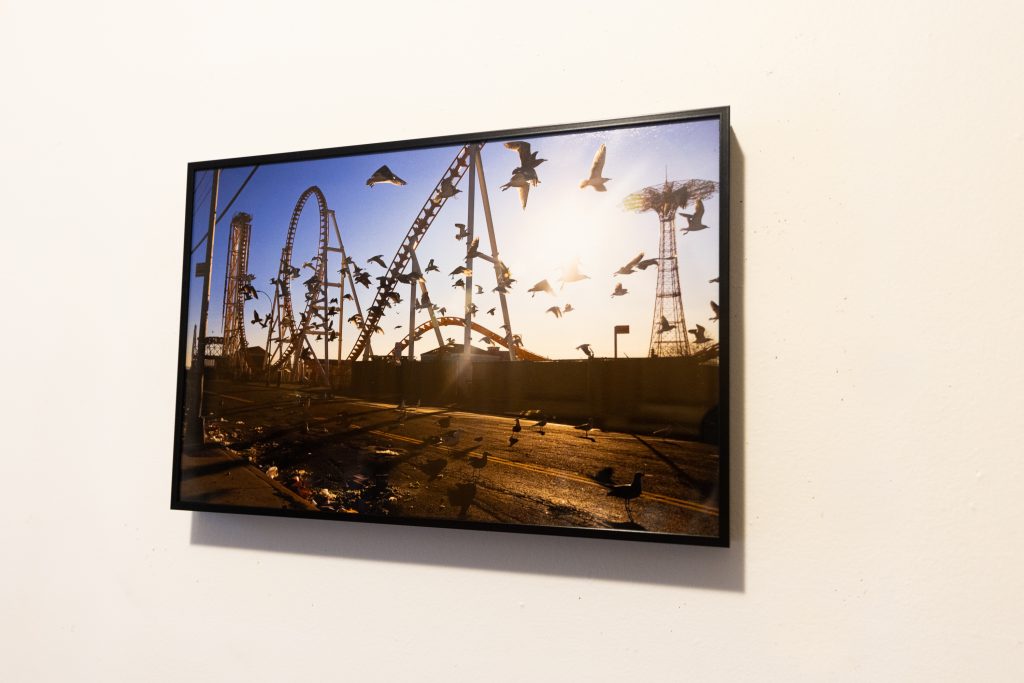
Although it’s a little cumbersome to remove and replace prints, this frame is very well built, easy to hang and has a classy design, which makes it a quality product in our opinion.
Final Thoughts
Ultimately Saal Digital takes some of the headache and expense out of getting framed prints. Although removing a print to place a new one in the frame is a bit of a pain—out of box this is a beautiful product that is simple to get up on the wall. If you have a set of images that you’ve been looking to get framed, Saal Digital makes it easy to do so without much hassle. Plus, a nicely framed print also makes a thoughtful holiday gift.
