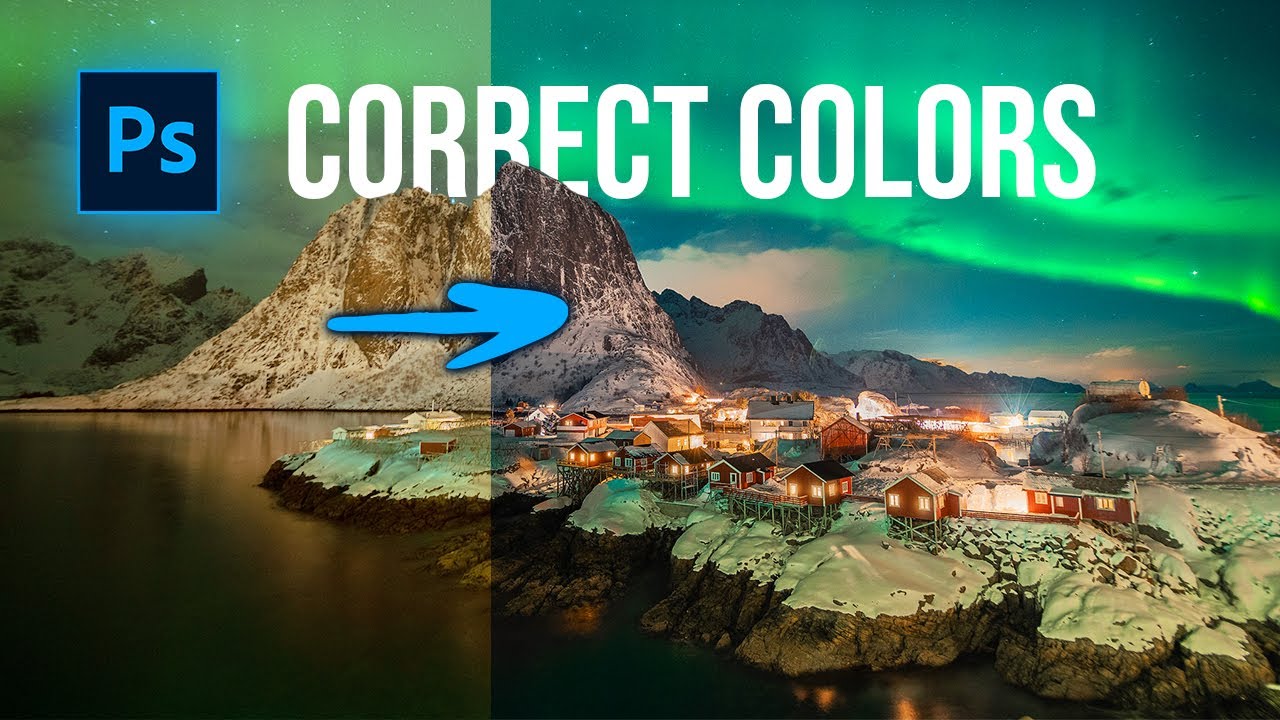
Photographing the Northern Lights is a bucket-list item for many landscape photographers, but to capture those stunning otherworldly colors in all of their glory you will need to do a bit of post-production work. In a new video Photoshop guru Christian Möhrle shares his step-by-step editing tips to give your photos of the Northern Lights an extra oomph factor that will make them stand out from the crowd. Here’s how he approaches the workflow.
#1 Basic Adjustments in Adobe RAW
Möhrle’s final image is made up of two separate frames with very different exposures: a base shot and a second image that captured the highlights in the foreground. He starts by adjusting the white balance on the base image to get rid of the yellow color cast. He makes this adjustment by bringing down the temperature and the tint to introduce cooler colors into the scene. Next, he brings down the highlights in the base image, boosts the blacks and makes slight adjustments to the contrast, texture and clarity. Finally, he slightly increases the contrast on the base image.